The WiFi settings page holds one set of guest WiFi settings for your whole account. It’s the default for every property’s guest sign-in form and captive portal, on every access point, so you only set things up once. This article walks through the page and explains the settings that aren’t covered in our form and speed guides.
Open WiFi settings
- Go to Devices → Wifi Devices in your dashboard.
- Click WiFi settings in the Sections menu. On a phone, tap Settings in the strip at the top.
- Use the Jump to links on the left to go straight to a section.
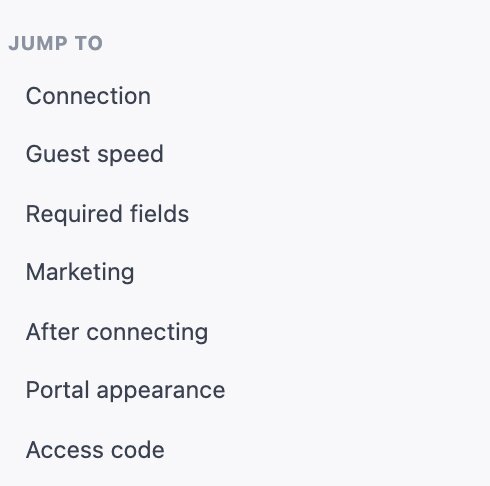
Change what you need, then click Save Settings at the bottom. The button stays at the bottom of the screen as you scroll. Changes apply to new sign-ins; guests already connected stay connected.
What’s on the page
- Connection: how long guests stay signed in, and blocking devices that never verify their email. See below.
- Guest speed: a standard speed for guests, full speed for guests who opt in, and fast-WiFi passes you can sell. See Guest WiFi Speed.
- Required fields and Marketing: which details guests must fill in, the marketing agreement and email verification. See WiFi Guest Form Customization.
- After connecting, Portal appearance and Access code: see below.
Connection
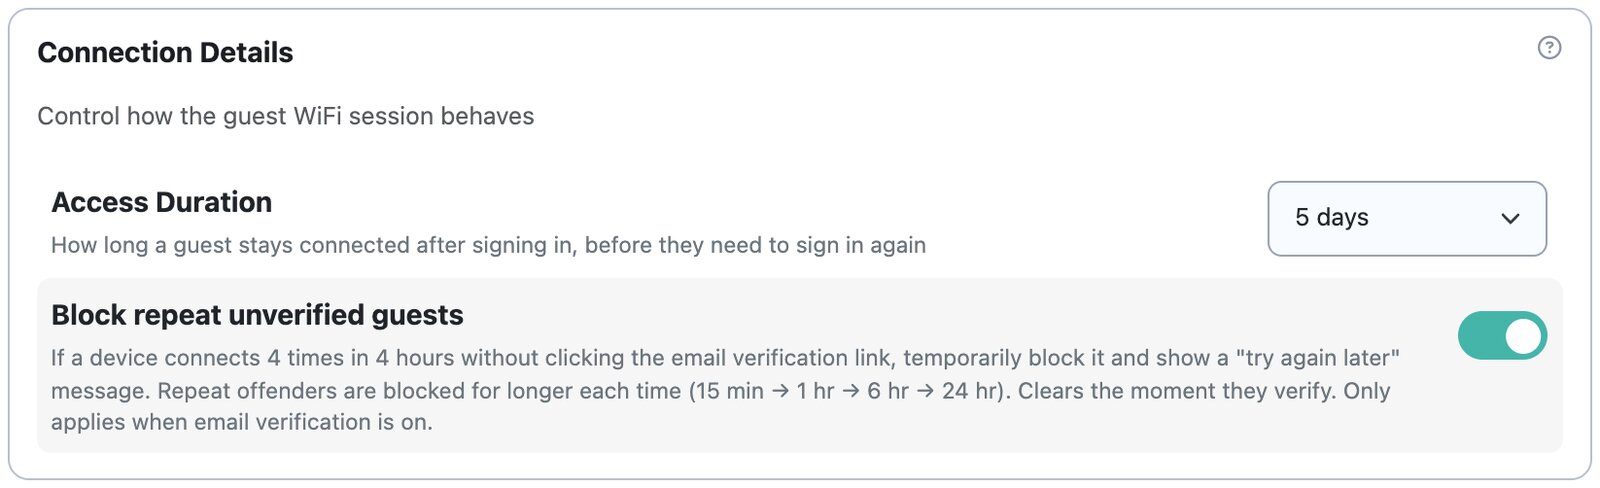
- Access Duration: how long a guest stays online after signing in before they have to sign in again. Choose 8 hours, 24 hours, 2, 5, 7 or 30 days. The default is 5 days. Pick something close to your usual stay so most guests only sign in once.
- Block repeat unverified guests (on by default): only matters when Email Verification is on. If a device connects 4 times in 4 hours without clicking the verification link, it’s blocked for a while and the guest is asked to click the link in their email and try again later. The block gets longer each time (15 minutes, 1 hour, 6 hours, then 24 hours) and clears as soon as the guest verifies their email.
After connecting
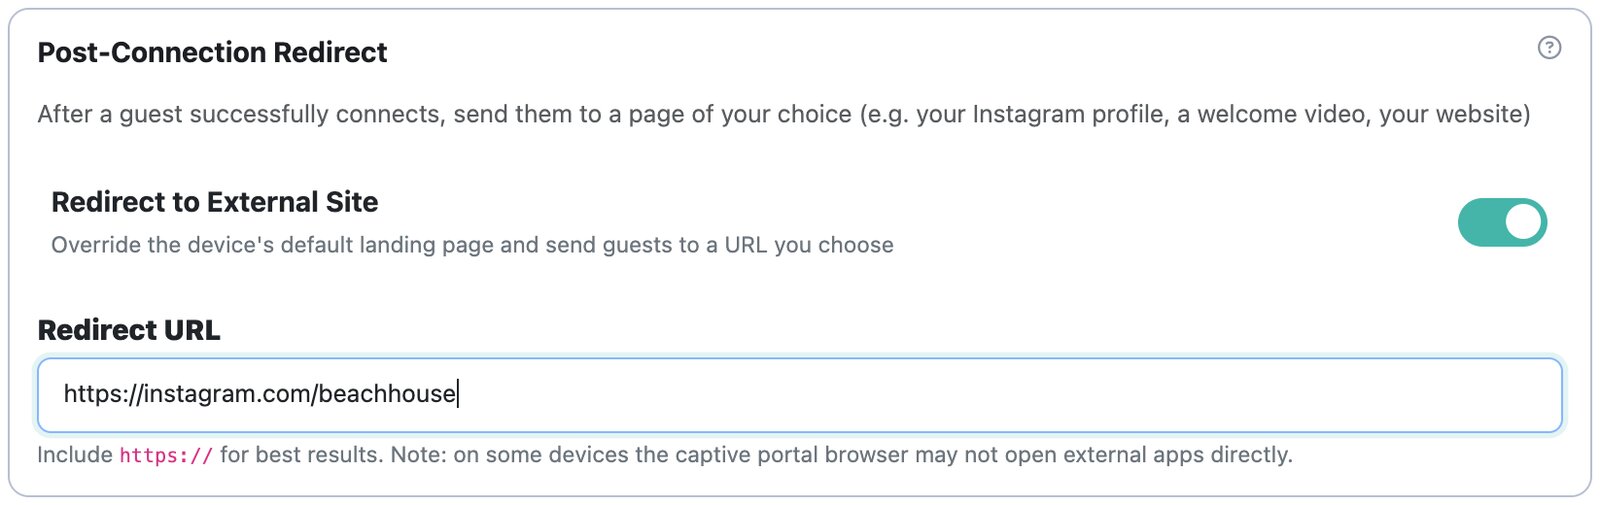
Turn on Redirect to External Site and enter a Redirect URL to send guests to a page of your choice once they’re online, such as your website, your Instagram or a welcome video. If you leave off https:// it’s added for you, and an address that isn’t valid isn’t saved (you’ll see a warning). On iPhones the sign-in window shows a Click here to continue button that opens your page. Some phones’ sign-in windows can’t open other apps directly, so a link to an app may open in the browser instead.
Portal appearance
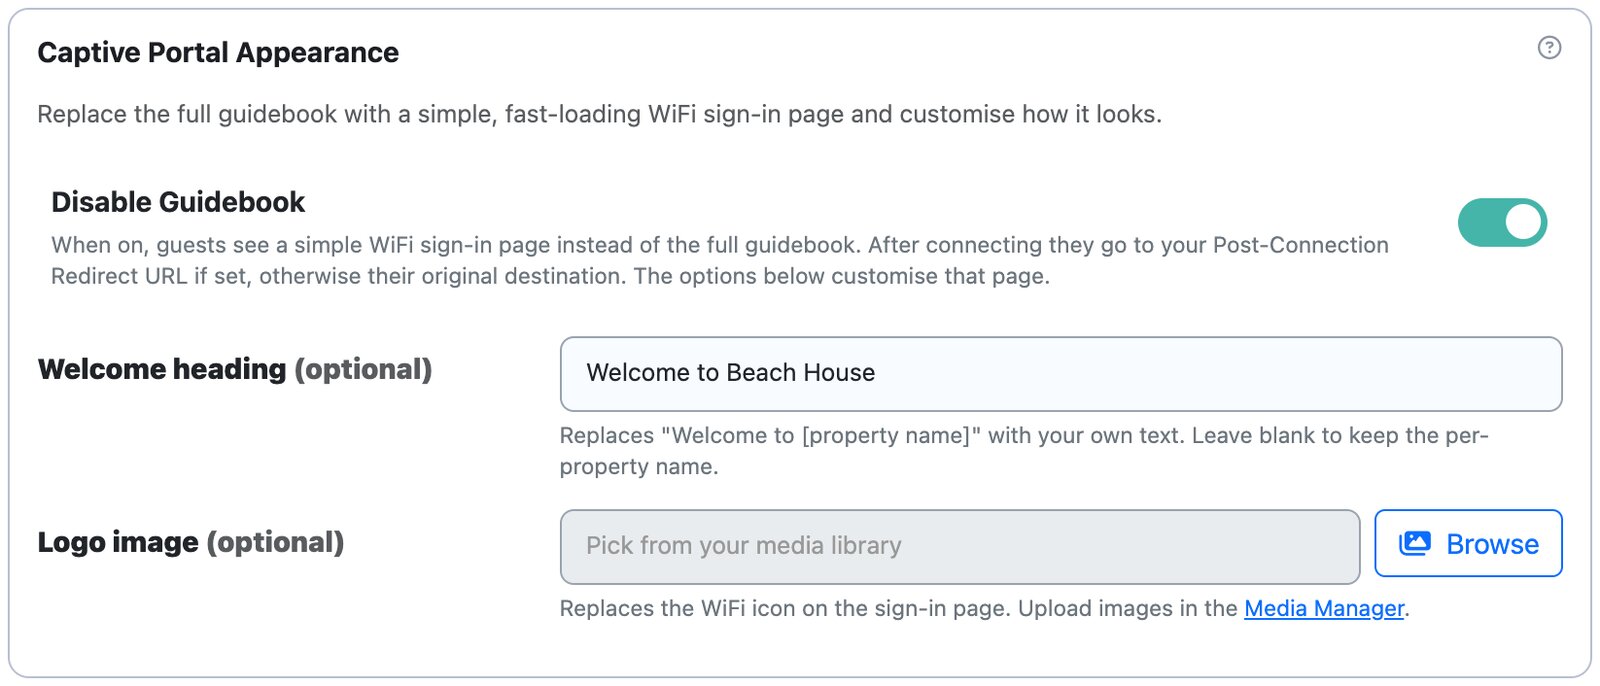
Normally guests see the property’s guidebook with the WiFi sign-in form in it. Turn on Disable Guidebook to give them a simple, fast-loading sign-in page instead. After connecting they go to your redirect address if you set one, otherwise wherever they were heading. Two options style that simple page:
- Welcome heading: replaces “Welcome to [property name]”. It’s used at every property, so leave it blank if you’d rather each property show its own name.
- Logo image: replaces the WiFi icon at the top. Click Browse to pick an image from your media library; upload it in the Media Manager first if it isn’t there yet.
Access code
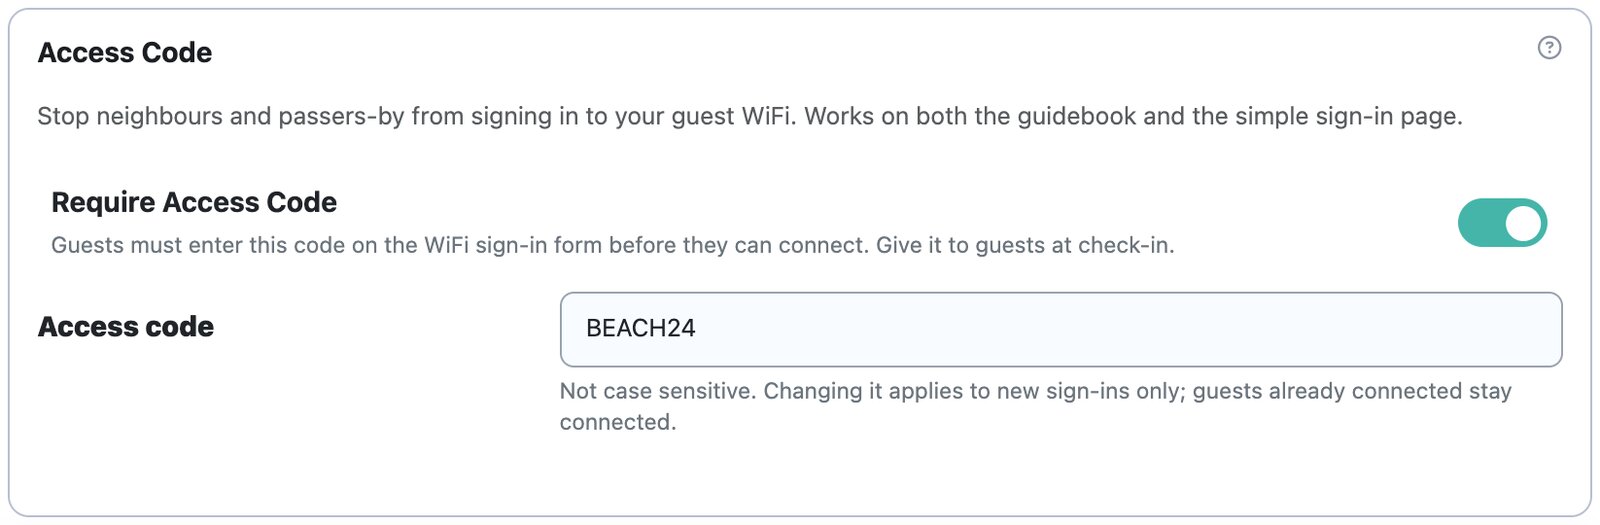
Turn on Require Access Code and enter a code to stop neighbours and passers-by signing in to your guest WiFi. Guests type it on the sign-in form (on the guidebook or the simple page), so add it to your check-in message. It isn’t case sensitive. If you turn it on without entering a code, it’s switched back off when you save. A new code only applies to new sign-ins.
Defaults and access point settings
Everything on this page applies to every property. For a single property you can change some of it in that access point’s own settings (the cog next to it on the Omada page):
- The guest form fields: name, email, phone, marketing agreement and email verification, with Override default WiFi form settings.
- The guest speed, with Guest speed at this property.
Anything you don’t override there, and everything else on this page (access duration, the redirect, portal appearance, the access code, marketing wording and passes), always comes from WiFi settings. See How do I assign an Omada access point to a property? for the access point settings.
Test it yourself
After changing your settings, join your guest WiFi with a phone or tablet that hasn’t signed in to it recently. You’ll see the sign-in page exactly as your next guest will. (A device that’s already signed in stays online until its access duration runs out, so it won’t see the page again.)