Upsells let you sell optional extras—early check-in, late checkout, a breakfast box, firewood, EV charging, local experiences—straight from your digital guidebook. Guests pay by card through your own Stripe account, so the money goes directly to you. You choose which properties each product appears on, and you can ask guests to request an extra first so you can approve it before they pay.
- See more at Guidebook Upsell
- Also see Sending a custom payment request to guests
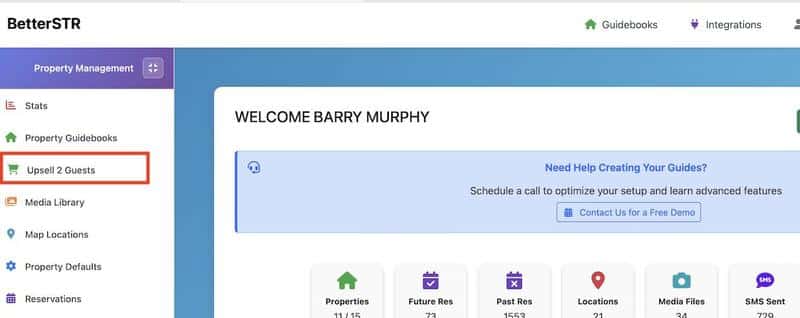
Find the Upsells pages
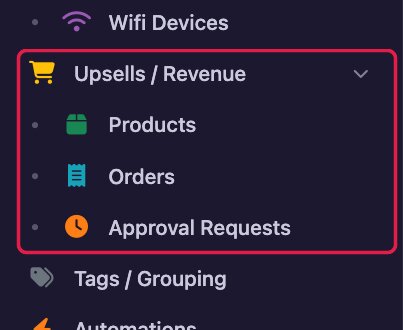
Everything lives under Upsells / Revenue in the left-hand menu: Products, Orders and Approval Requests.
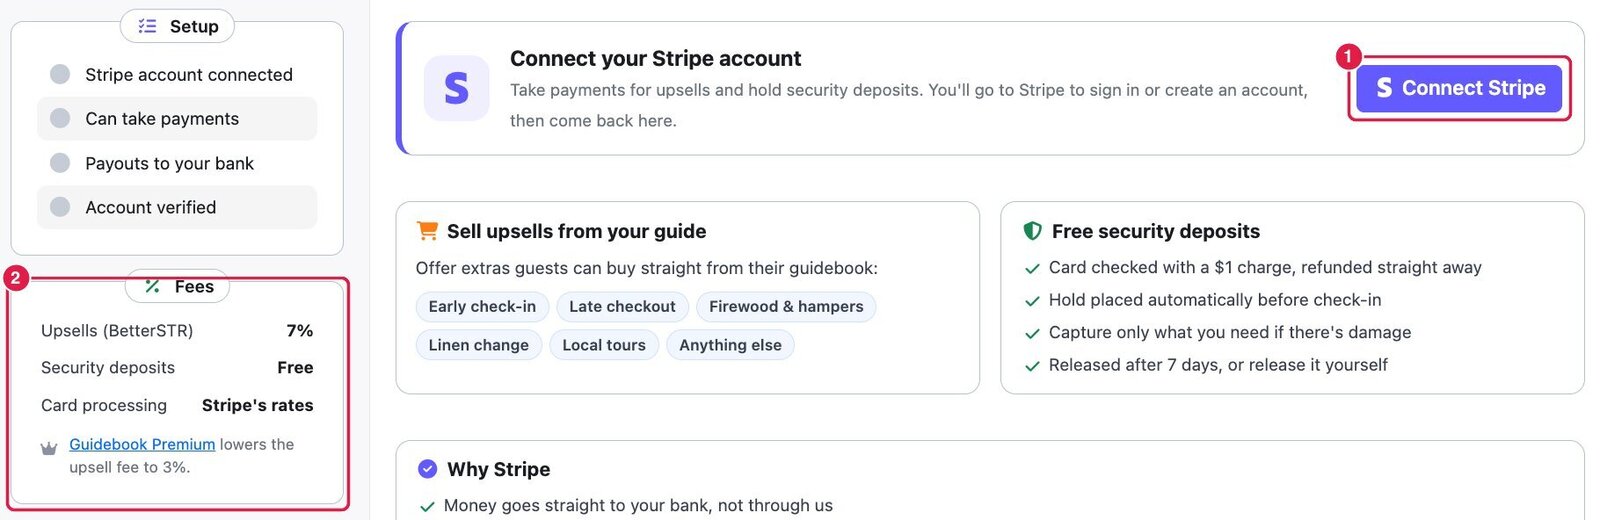
Step 1: Connect Stripe
Until Stripe is connected, opening Products takes you to the Payments with Stripe page instead.
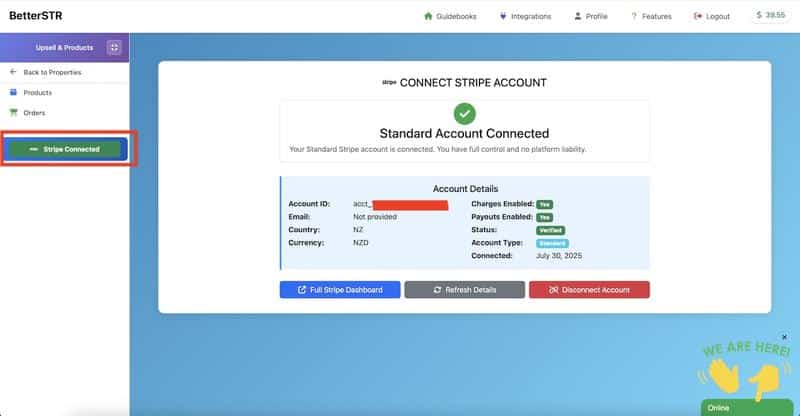
- Click Connect Stripe (1). You’ll go to Stripe to sign in to your existing Stripe account or create a new one, then come back to BetterSTR.
- The Setup checklist shows when your account is connected, can take payments, can pay out to your bank and is verified. If something still shows as not done after you’ve finished on Stripe, click Refresh details from Stripe on the same page.
- The Fees card (2) shows what you’ll pay: BetterSTR’s upsell fee is 7% of each sale, or 3% with Guidebook Premium. Stripe’s normal card fees for your country also apply.
For a full walkthrough, see How to Connect Stripe to Your BetterSTR Account.
Step 2: Add your products
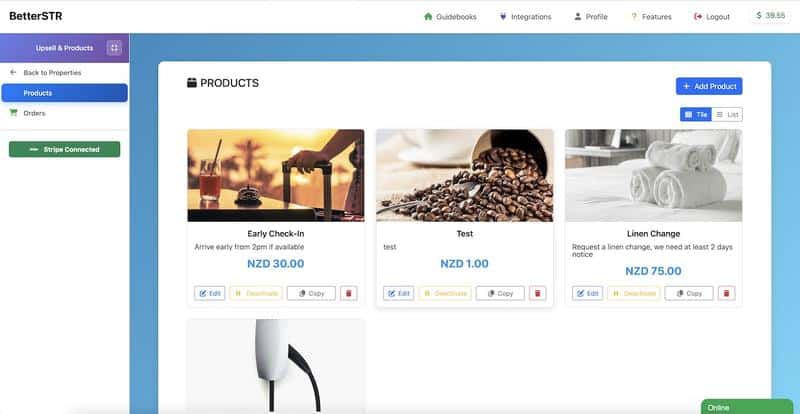
Once Stripe is connected, Upsells / Revenue → Products lists everything you sell.
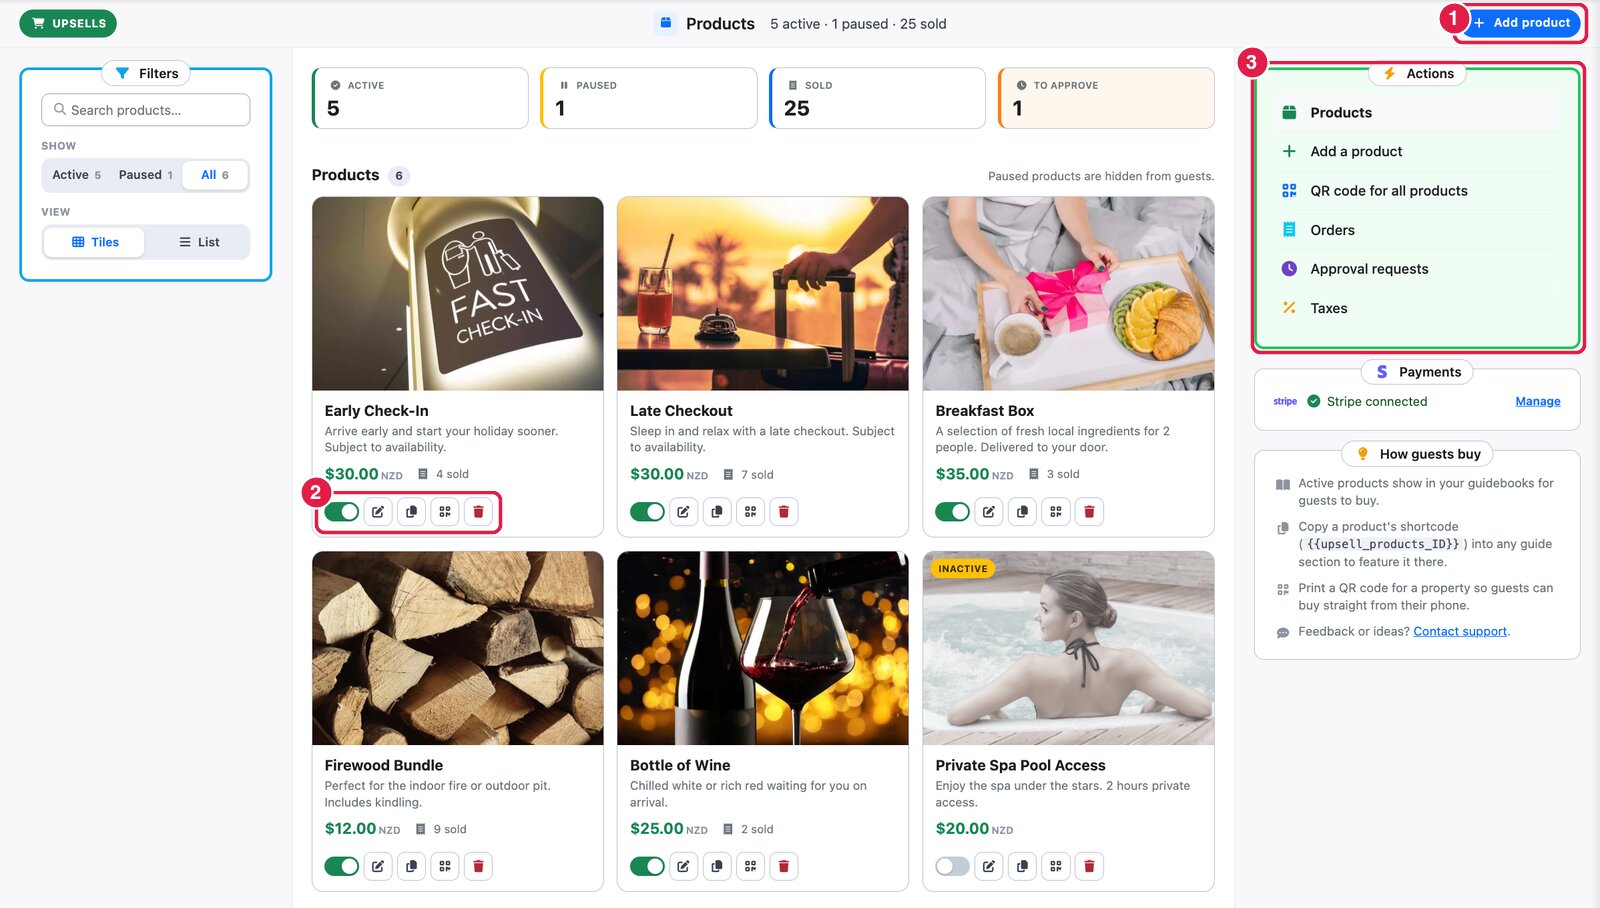
- Add product (1) opens the product form.
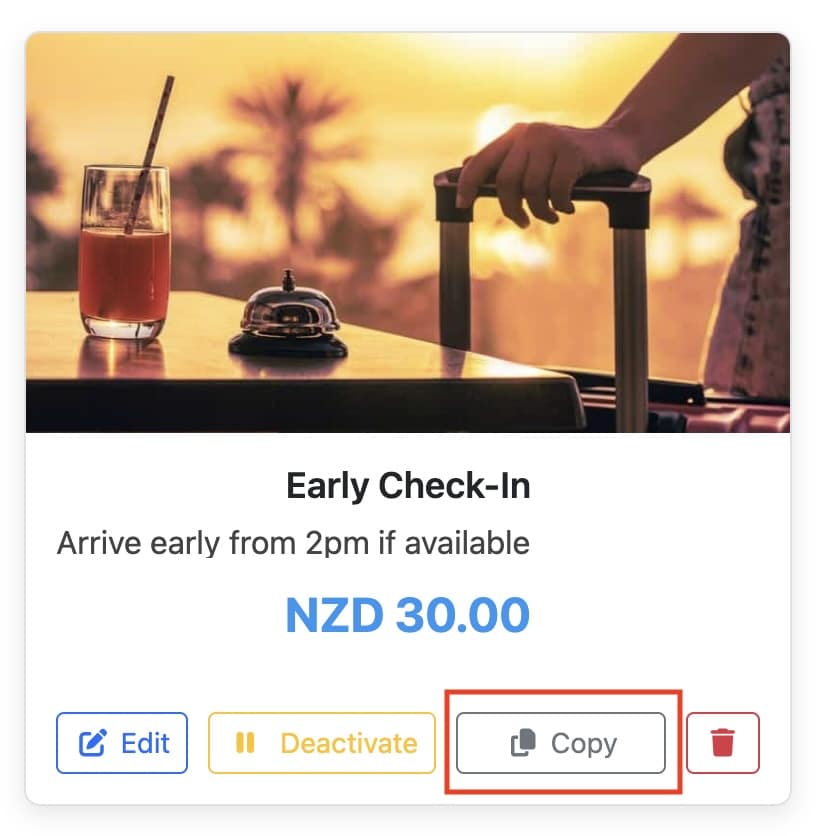
- Each product has an Active / Paused switch (paused products are hidden from guests), plus buttons to edit, copy its shortcode, get a QR code and delete it (2). A product that has already been sold can only be paused, not deleted.
- The Actions card (3) links to Orders and Approval requests, makes a QR code for all products, and opens Taxes, where you can add sales taxes for all properties, a tag or one property.
On the product form:
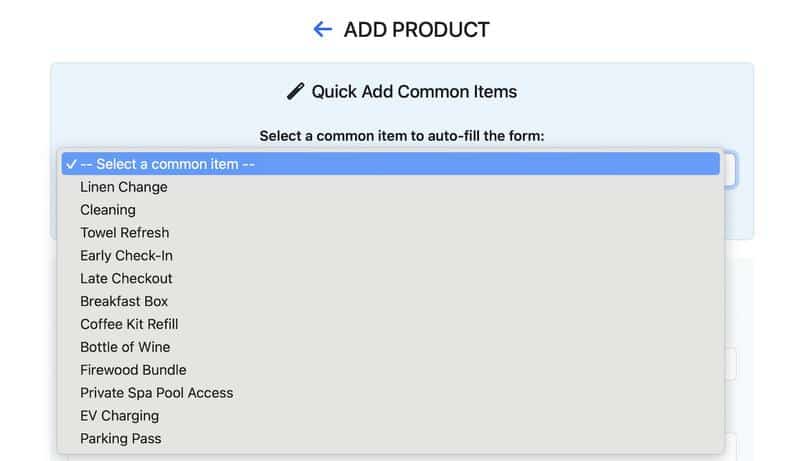
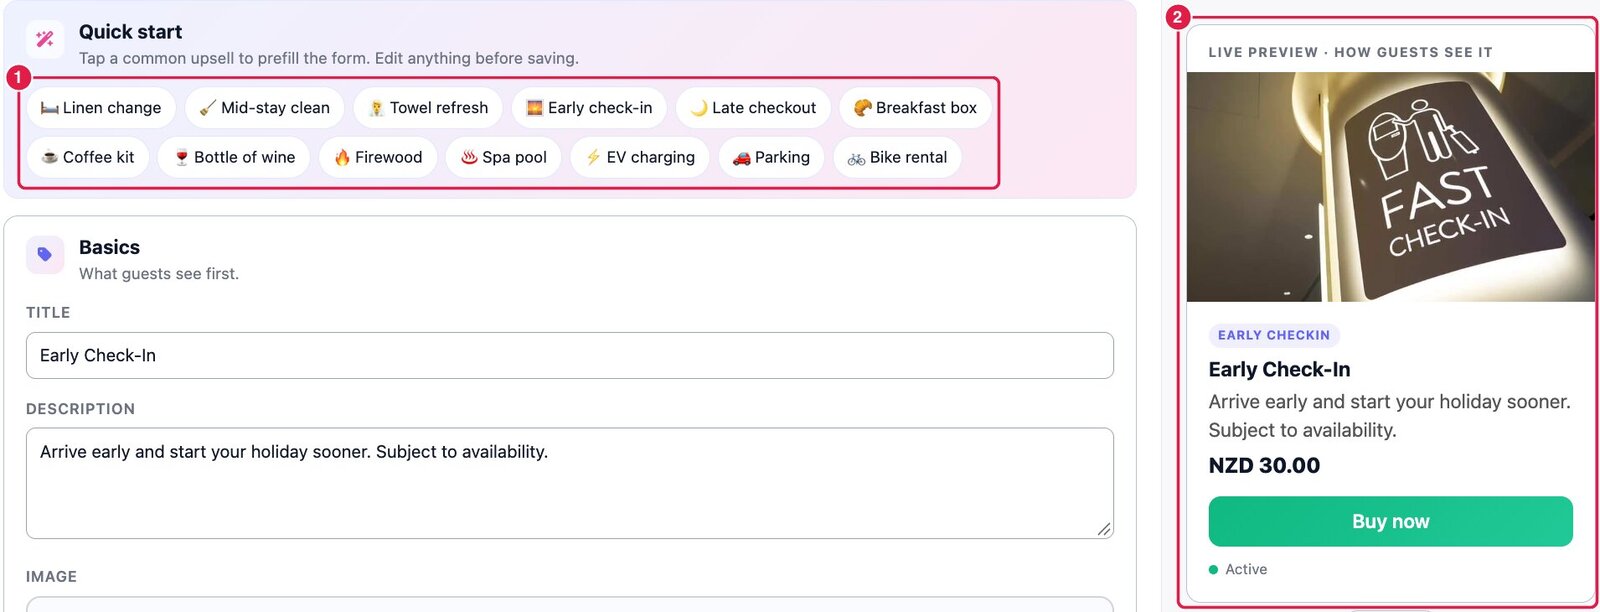
- Quick start (1): tap a common upsell (linen change, mid-stay clean, early check-in, late checkout, breakfast box, firewood, spa pool, EV charging, parking, bike rental and more) to fill in a title, description, price and photo. Change anything you like.
- Basics: the title, description and image. Click the image box to pick from your media library, upload a new photo or choose one of our free images.
- Pricing & type: the price and currency, the product type and the status (Active, Draft or Inactive).
- The Live preview (2) on the right shows how guests will see the product as you type.
Further down the form:
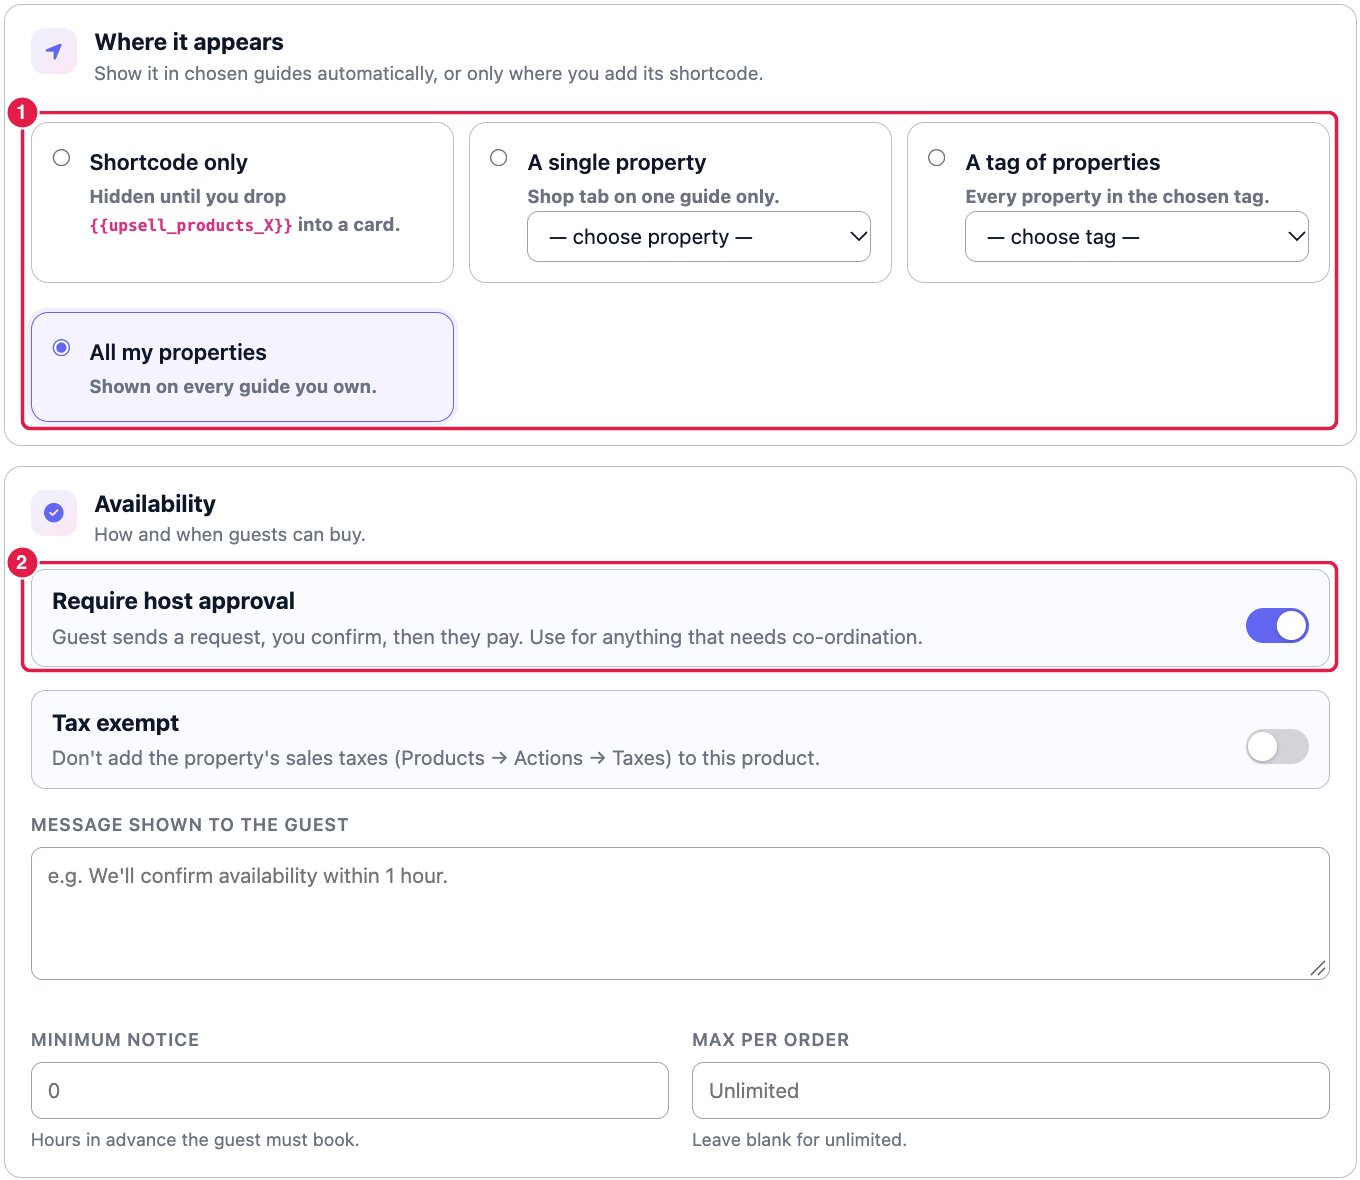
- Where it appears (1): show the product on all my properties, a single property or a tag of properties, or choose Shortcode only to keep it hidden until you add its shortcode to a guide (see Step 3).
- Require host approval (2): the guest sends a request instead of paying straight away. You approve or reject it under Upsells / Revenue → Approval Requests; when you approve, the guest is emailed a link to pay. Ideal for early check-in and late checkout. You can add a message the guest sees when they request it.
- Tax exempt: don’t add your sales taxes to this product.
- Minimum notice (hours in advance the guest must book) and Max per order.
- Smart pricing rules (optional): earliest check-in and latest checkout times with an hourly price, charging per extra guest or per night, and a surcharge for last-minute purchases.
- Terms & conditions (optional): shown to guests before they pay.
Click Save product when you’re done.
Step 3: Show products in your guide
There are two ways guests find your products:
- The Shop tab. Once Stripe is connected and a property has at least one active product, a Shop tab appears in that property’s guide automatically. It shows the products set to appear on that property (by property, tag or all properties). To hide it on a property, turn off Show Shop tab in the guide under Upsell Product Settings on that property’s settings page, where you can also change the tab’s label and icon.
- Shortcodes. To feature products inside a guide page, open the property’s guide in the editor and add:
{{upsell_products_all}}to show all of your active products, or{{upsell_products_ID}}(for example{{upsell_products_22}}) to show one product. Copy a product’s shortcode with the copy button on the Products page. Product shortcodes work on any of your guides, even if the product isn’t set to appear on that property.
You can also print a product’s QR code (choose the property and it opens that property’s guide with the product ready to buy), so guests can scan it in the property.
Change the display layout
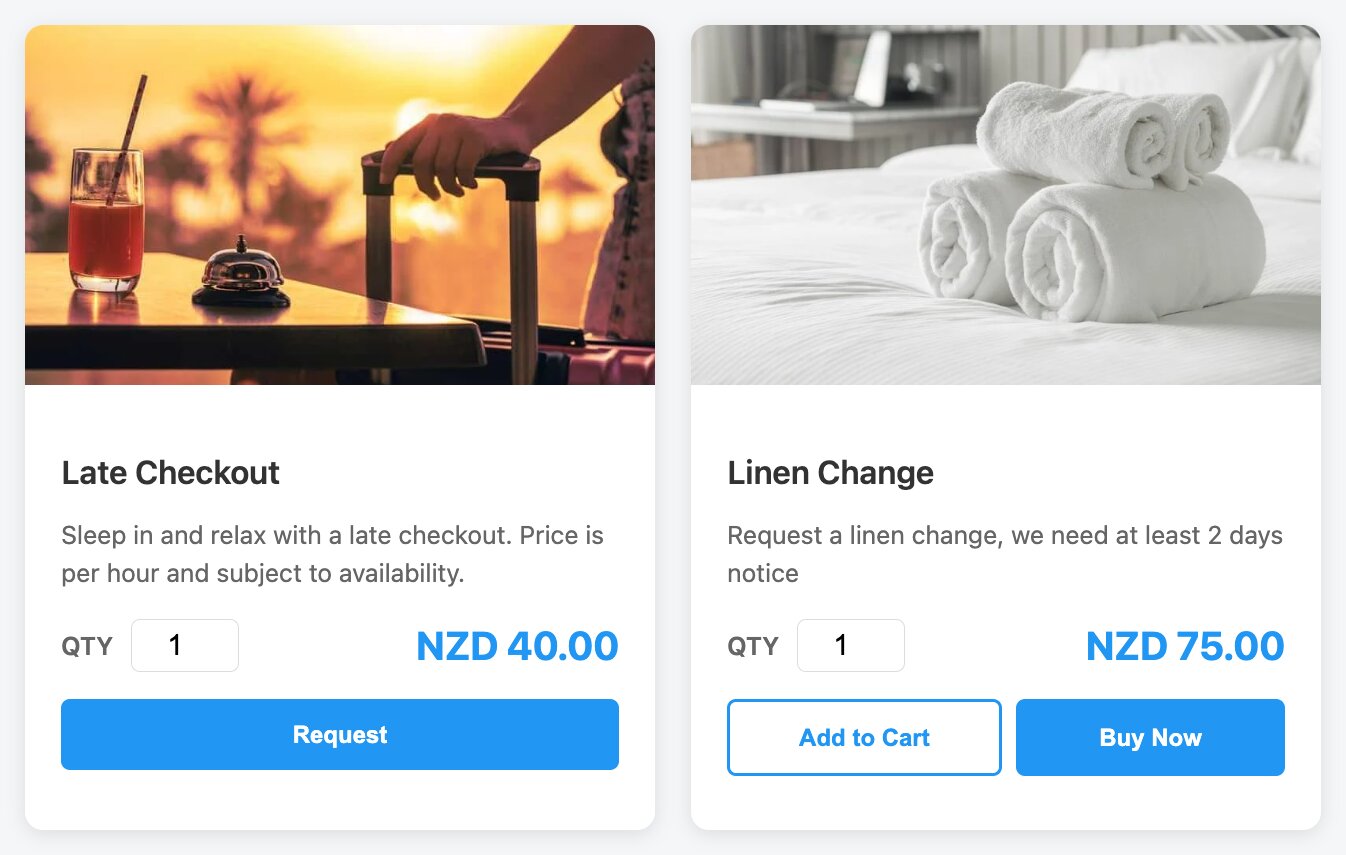
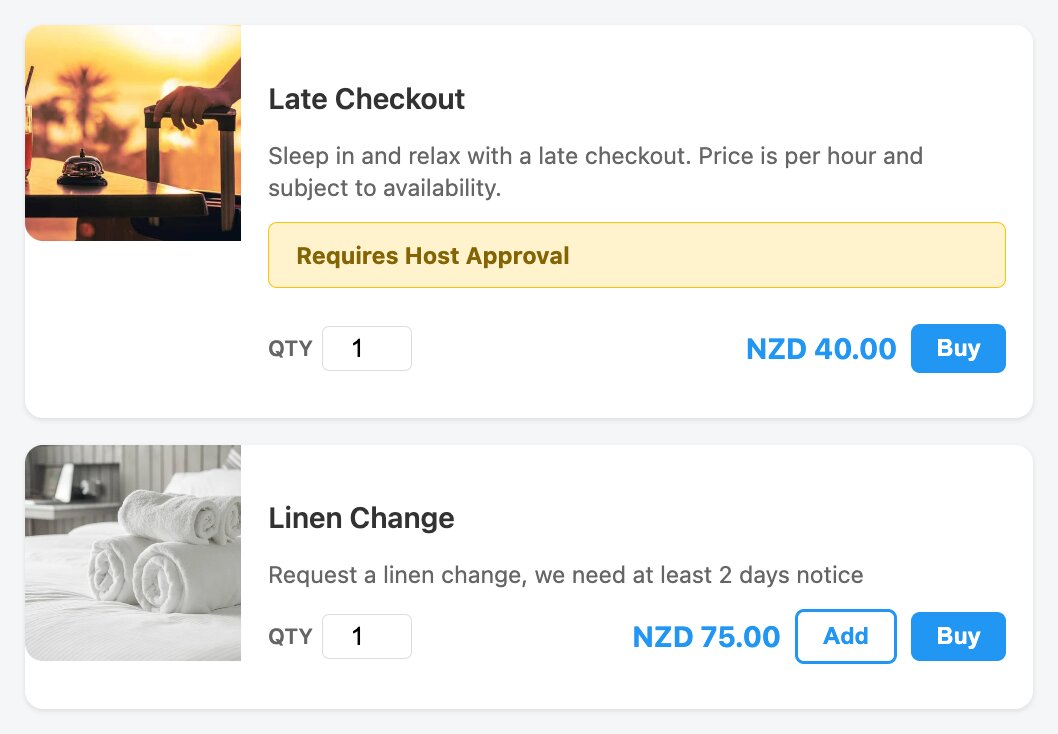
Under Upsell Product Settings in Property Defaults (for all properties) or a property’s settings page (for one property), set Product Display Style to Grid (the default) or Stack. This section only shows once Stripe is connected.
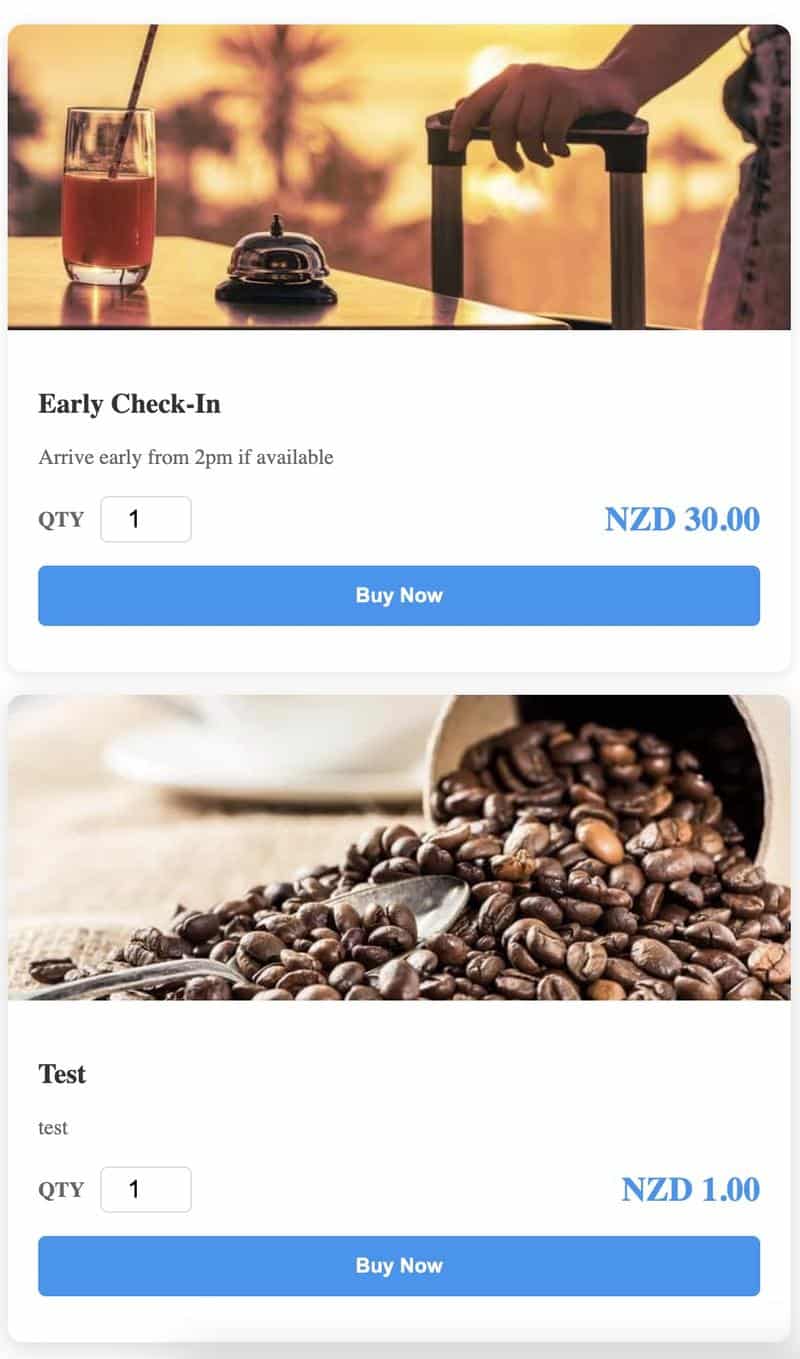
Grid shows products as tiles with a large photo:
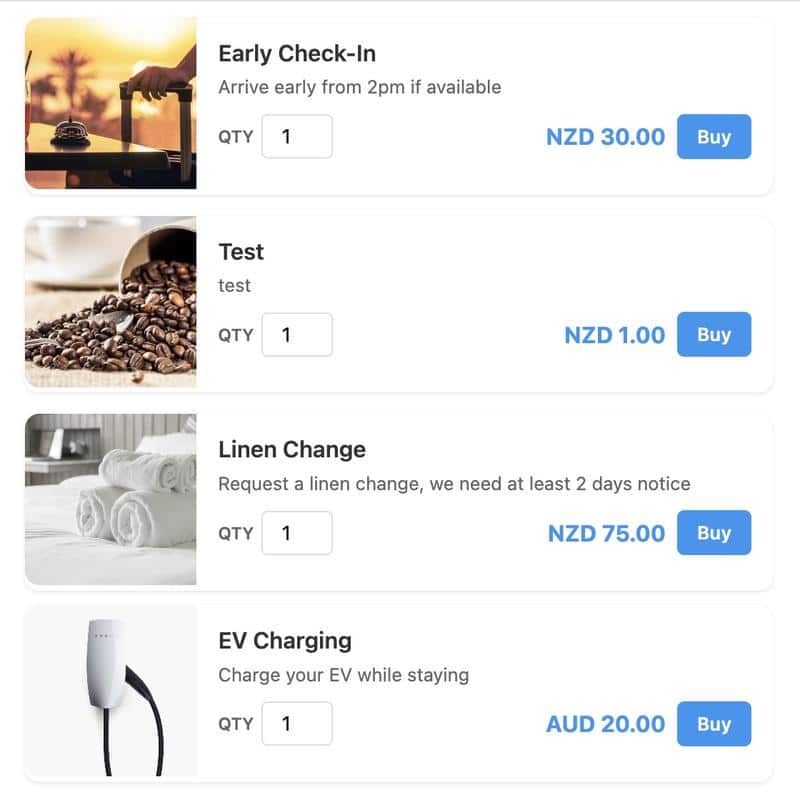
Stack shows a list with the photo on the left:
Orders and refunds
Upsells / Revenue → Orders lists every purchase with filters and totals. Guests pay through your Stripe account and Stripe pays you out. To refund all or part of an order, use the refund (undo) button on the order; the money goes back to the guest’s card. Click a guest’s name to see their reservation.