See below instructions on how to add a widget to your own website, or your direct booking website with Wix or Wordpress
Steps to add to WIX:
-
Access Your BetterSTR Account:
-
Log in to your BetterSTR Properties Page.
-
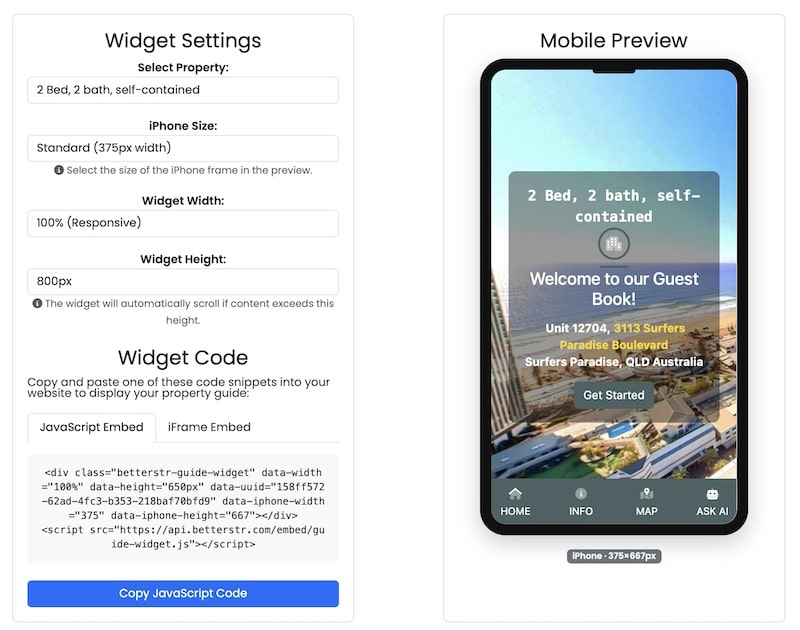
Click the COG to the right hand side of the property and select Widgets.
-
Locate the Guidebook Widget and copy the provided embed code.
-
-
Open Your Wix Editor:
-
Go to your Wix website editor.
-
Select the page where you want to add the weather widget.
-
-
Add an Embed Element:
-
Click on the “+ Add” button on the left sidebar.
-
Choose “Embed” and then select “Embed a Widget”
-
Drag and drop the HTML iframe element to your desired location on the page.
-
-
Insert the Widget Code:
-
Click on the HTML element you've added.
-
In the settings panel, click “Enter Code”.
-
Paste the BetterSTR Weather Widget embed code into the box.
-
Click “Apply” to save.
-
-
Customize and Publish:
-
Adjust the size and position of the widget as needed.
-
Click “Publish” to make the changes live on your website.
-

Steps to add to Wordpress:
-
Retrieve the Widget Code:
-
Log in to your BetterSTR dashboard.
-
Navigate to Services > Tools > Widgets.
-
Find the Guidebook Widget and copy the provided embed code.
-
-
Add the Widget to a Page or Post:
-
In your WordPress admin panel, go to the page or post where you want to add the widget.
-
Switch to the Text or HTML editor.
-
Paste the BetterSTR Weather Widget embed code where you want the widget to appear.
-
Update or publish the page/post.
-
-
Add the Widget to a Sidebar or Footer:
-
Go to Appearance > Widgets in your WordPress dashboard.
-
Drag a Custom HTML widget to your desired widget area (e.g., Sidebar or Footer).
-
Paste the BetterSTR Weather Widget embed code into the widget content box.
-
Click “Save” to apply the changes.
-